Effortless for All, Guaranteed.
Six straightforward steps to months of fabulous hair. Universally gentle. Achieve lasting sleekness and smoothness in your mane.
STEP 1
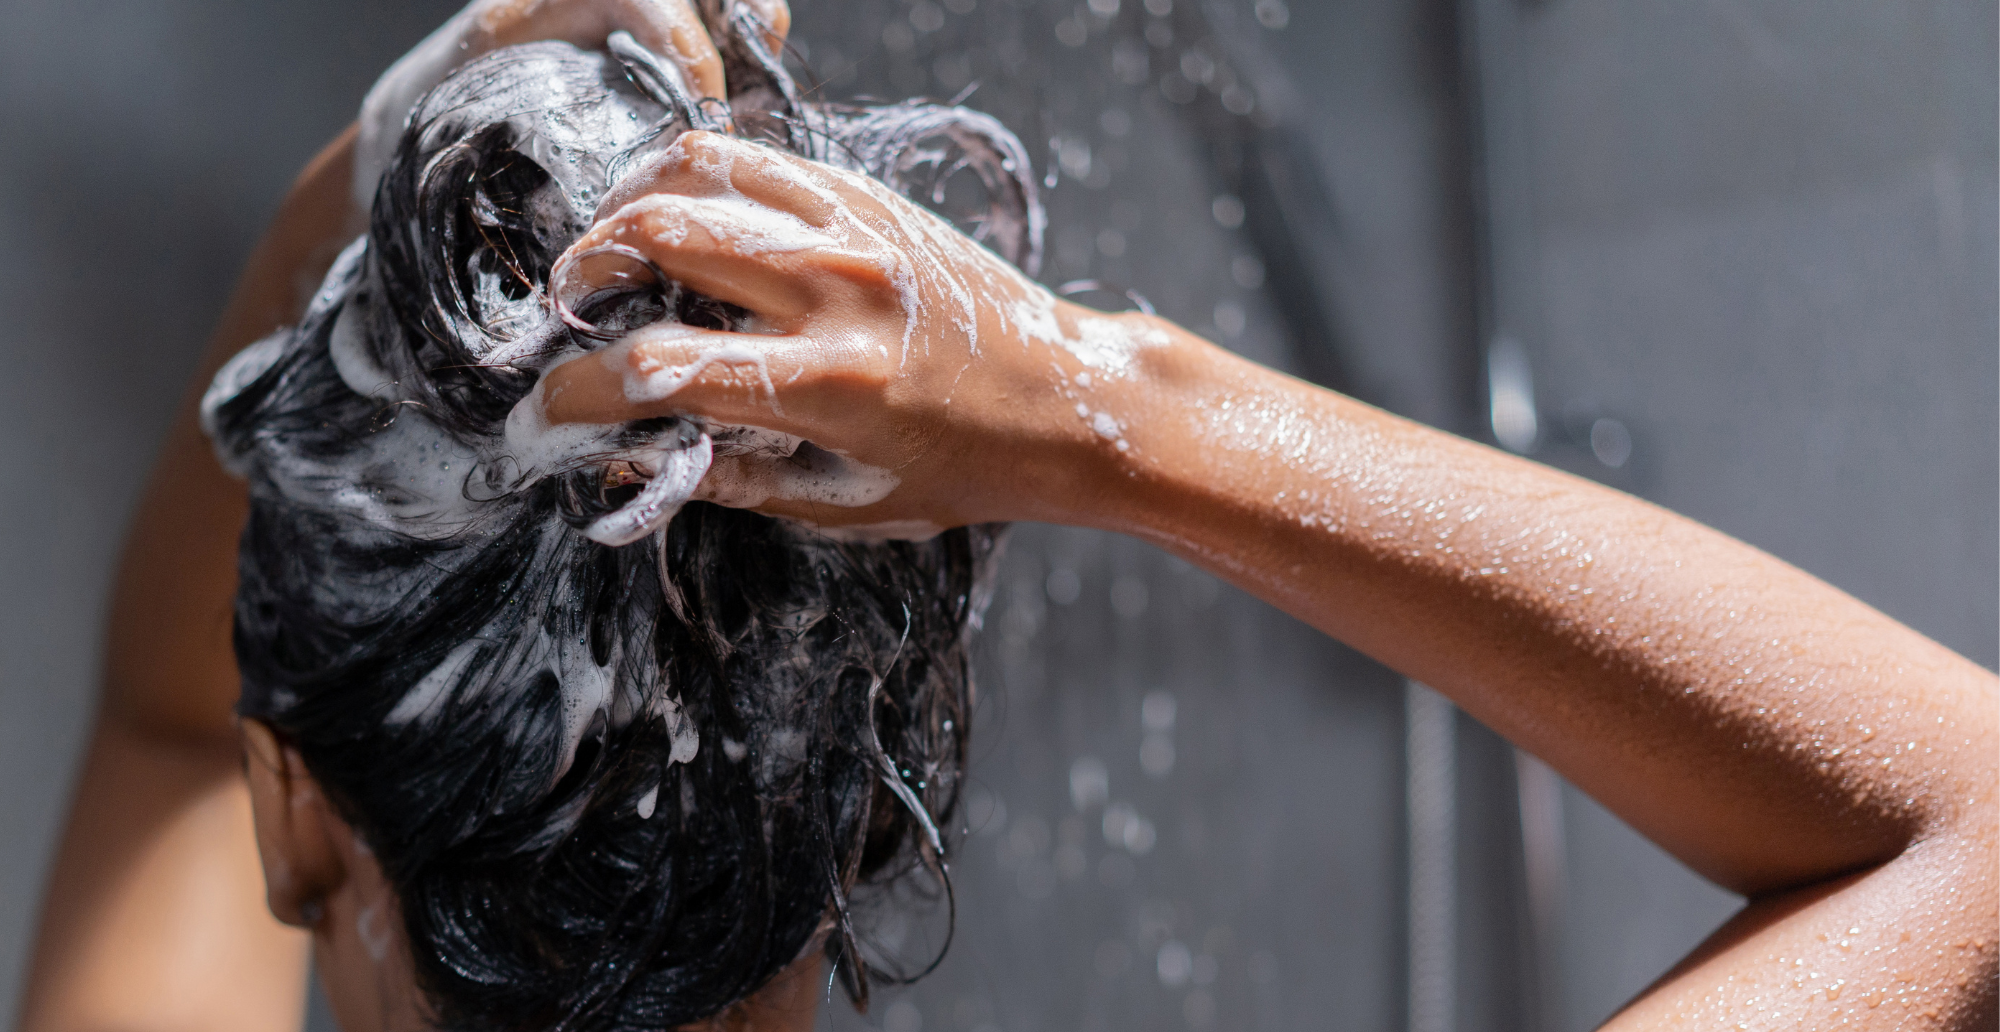
Wash
Let's Begin Mane Babes!
Cleanse your hair twice using Kera Mane Clarifying Shampoo (Bottle 1), perfectly prepping it for the treatment. Cleanse your hair throughout. Refrain from using conditioner or any additional products. Proceed to dry.
STEP 2
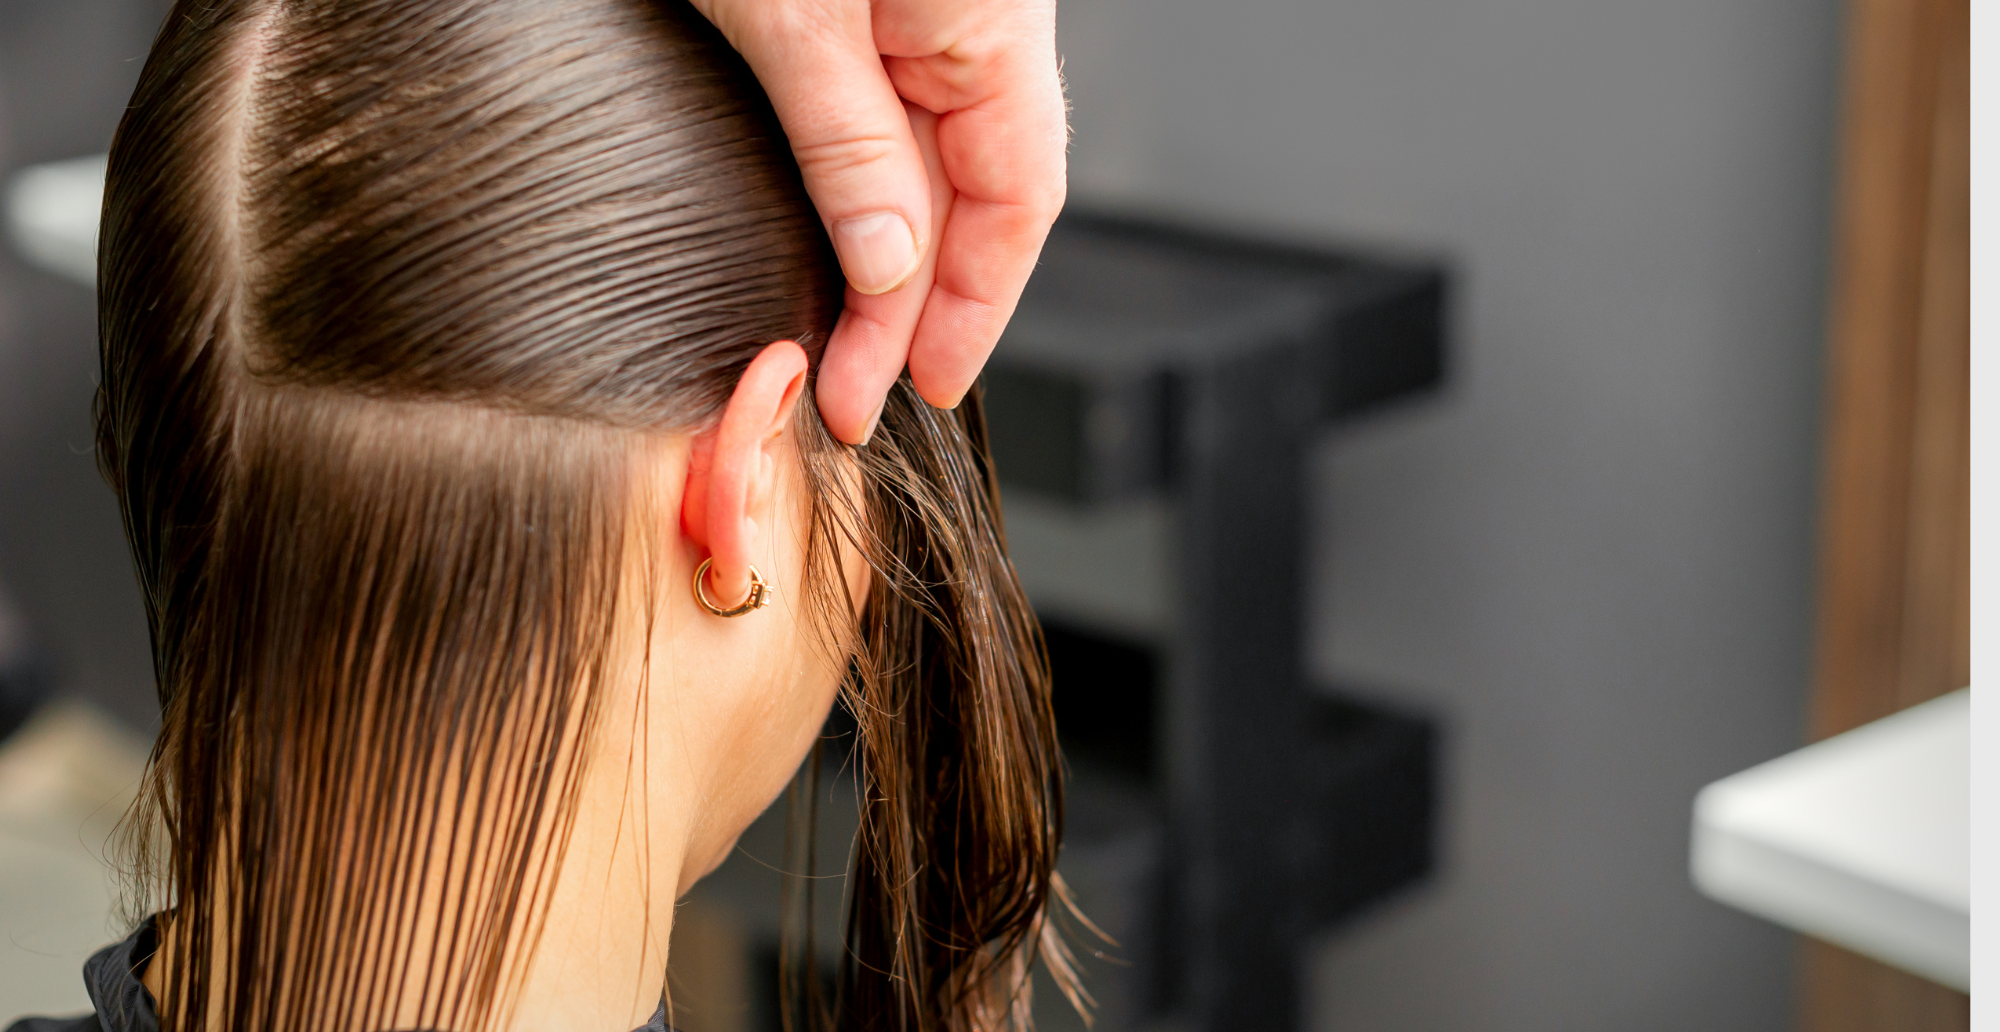
Partially Dry & Section
Partially Dry Hair (approx 50%) then,
Section hair into 4 parts using the provided Kera Mane Clips
STEP 3
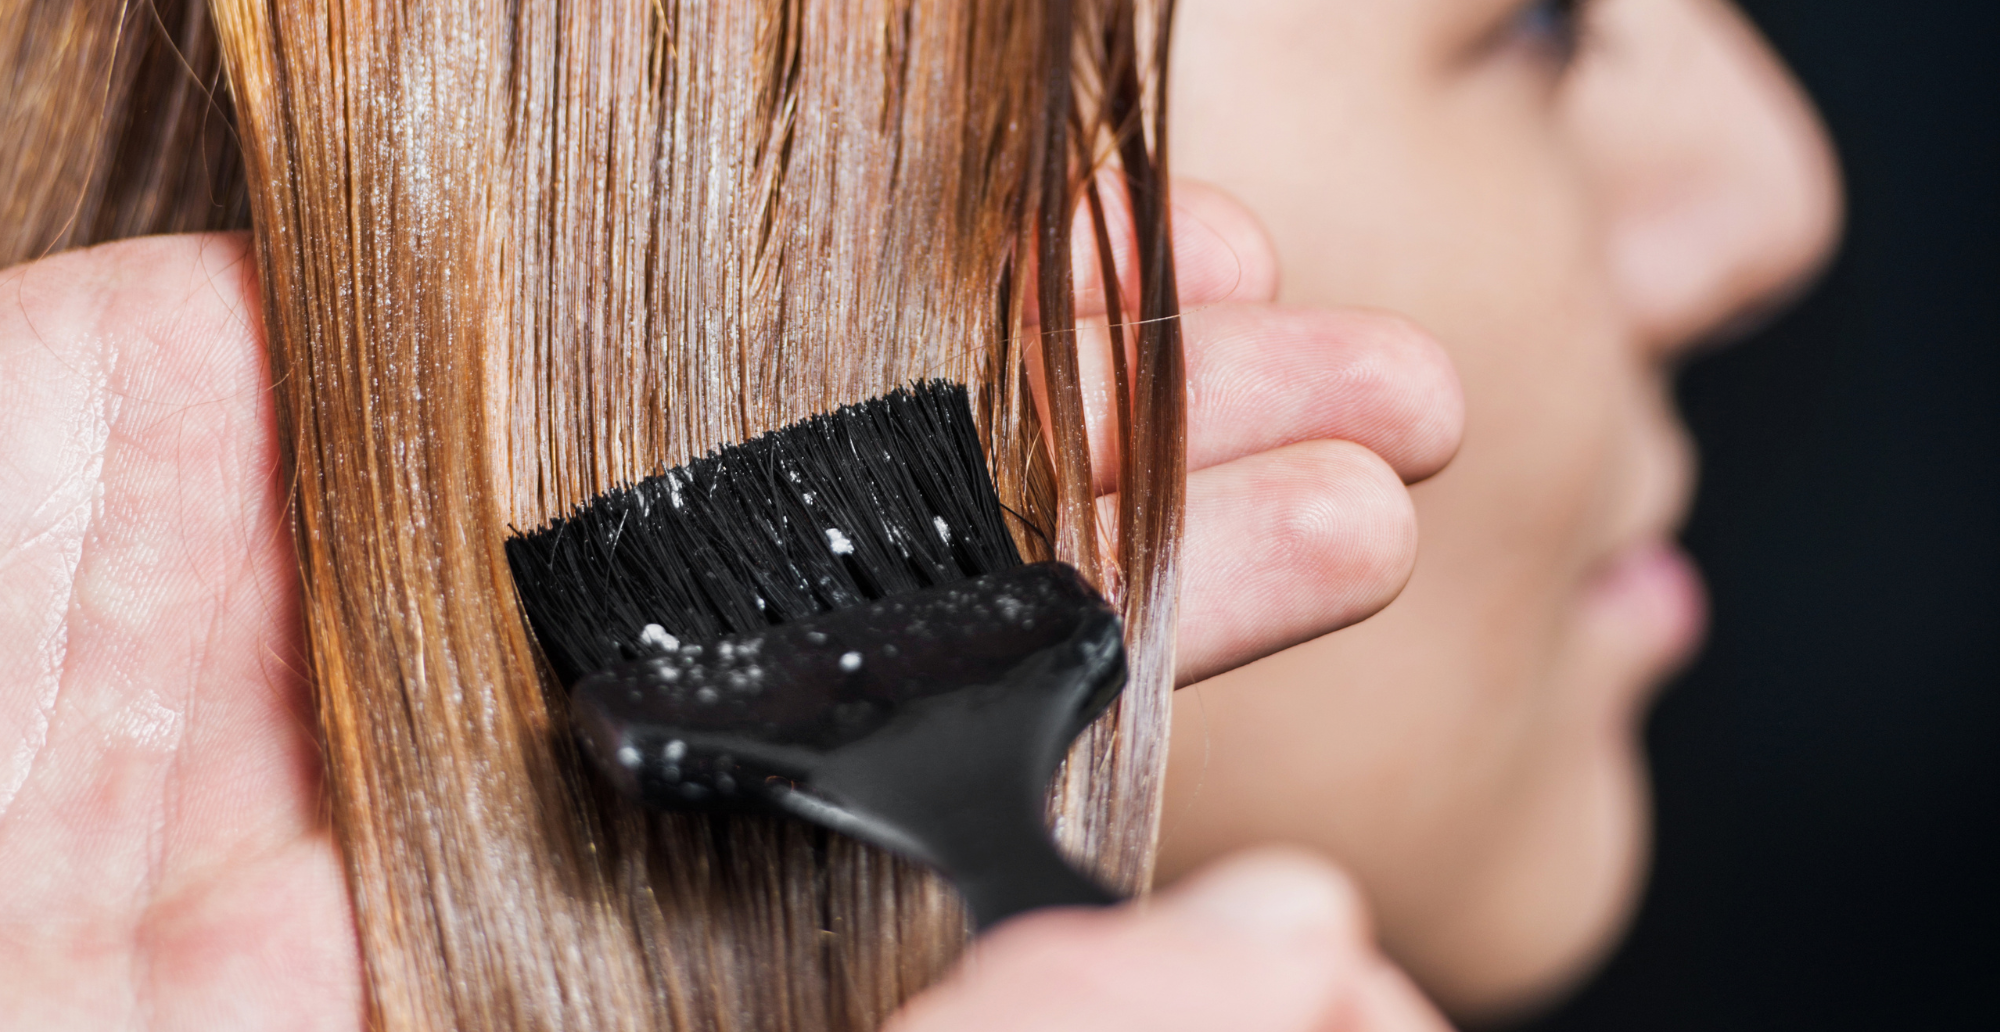
Application
Use the provided gloves and comb/flat brush to spread your Kera Mane Keratin Straightening Treatment (Bottle Number 2) evenly. Starting approximately 1/3" away from the scalp.
Wait 30 minutes for thin/medium hair and 45 minutes for medium/thick hair. Cover with provided shower cap to retain moisture.
Note: Our product is highly concentrated in liquid form, so a small amount should suffice.
STEP 4
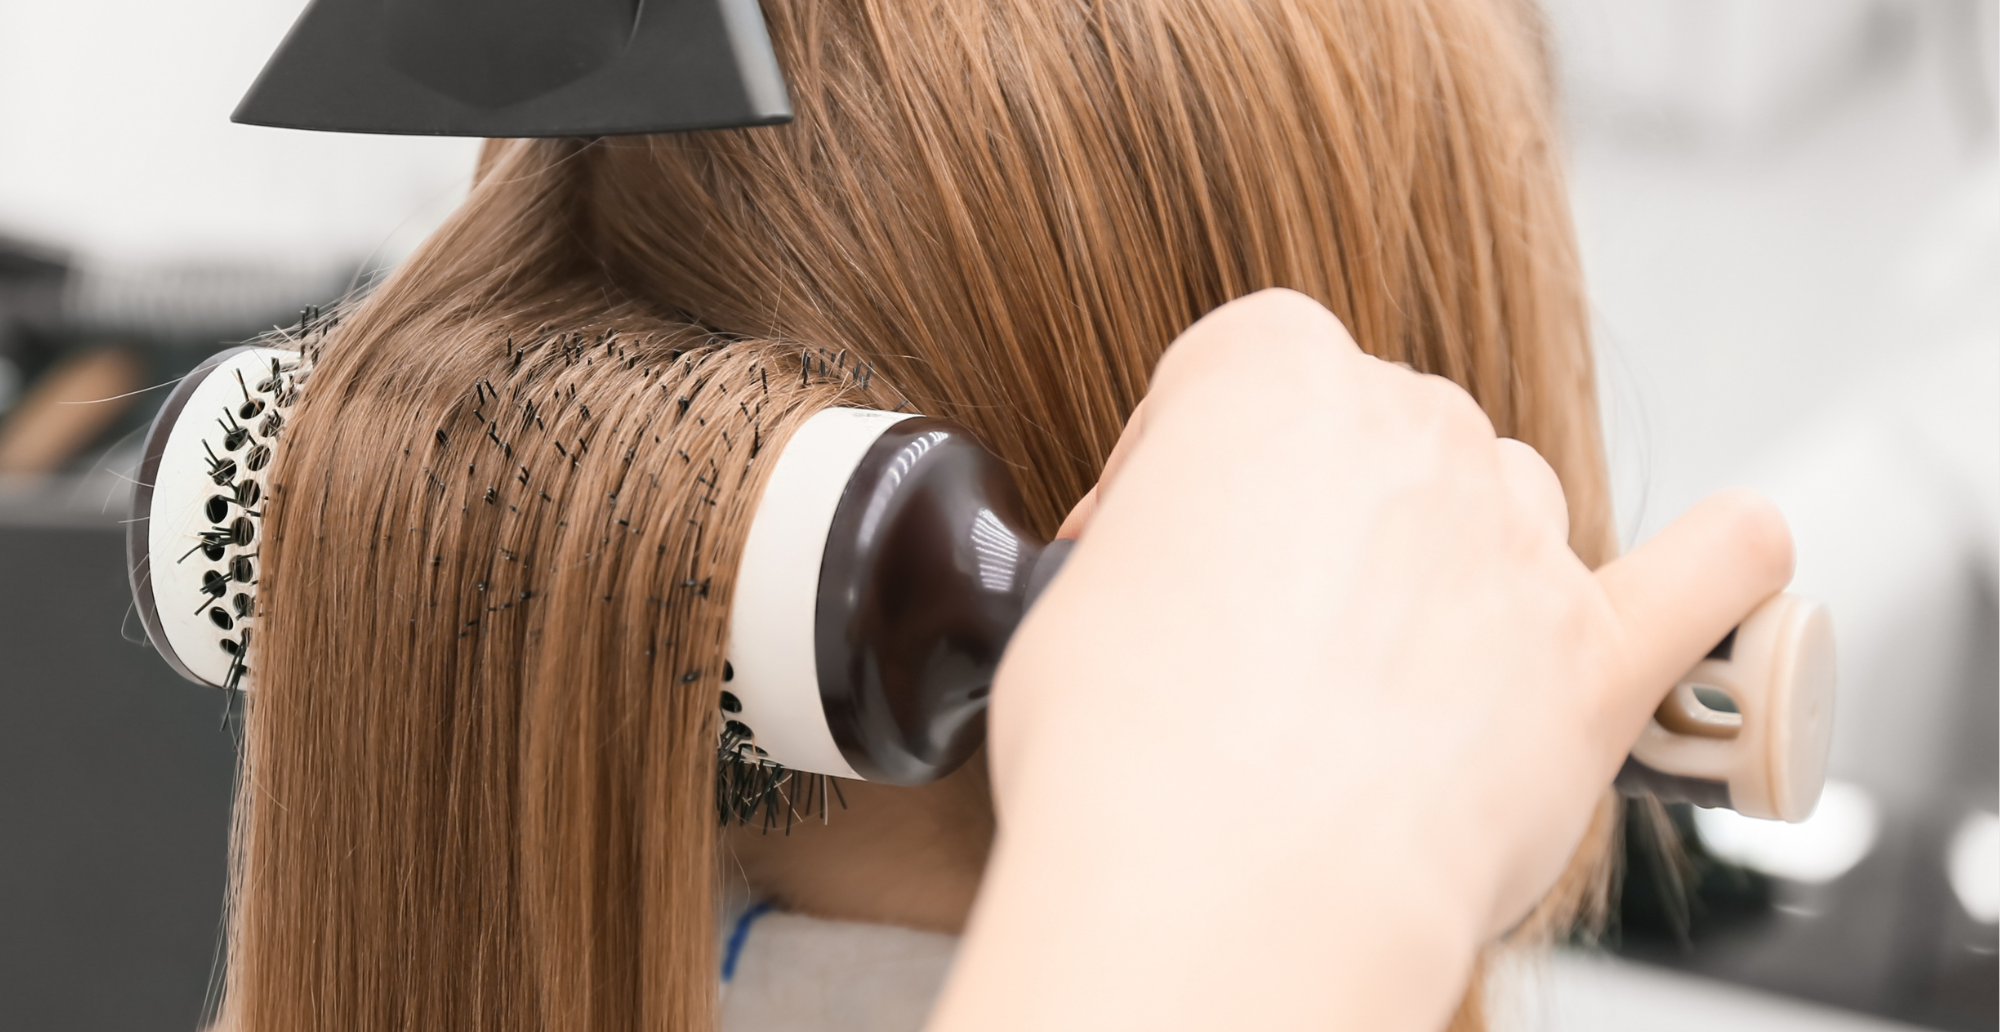
Fully Dry
Go ahead and fully dry your hair on a medium setting, using your favorite round or paddle brush to get it nice and smooth. Remember, it's super important to get your hair 100% dry to make sure the treatment really sets in perfectly.
But, If you find it really hard to dry or comb your hair, rinse it lightly, reducing the amount of product by about 30%. Avoid this step if possible for max results. Do NOT use shampoo or conditioner.
STEP 5
Seal
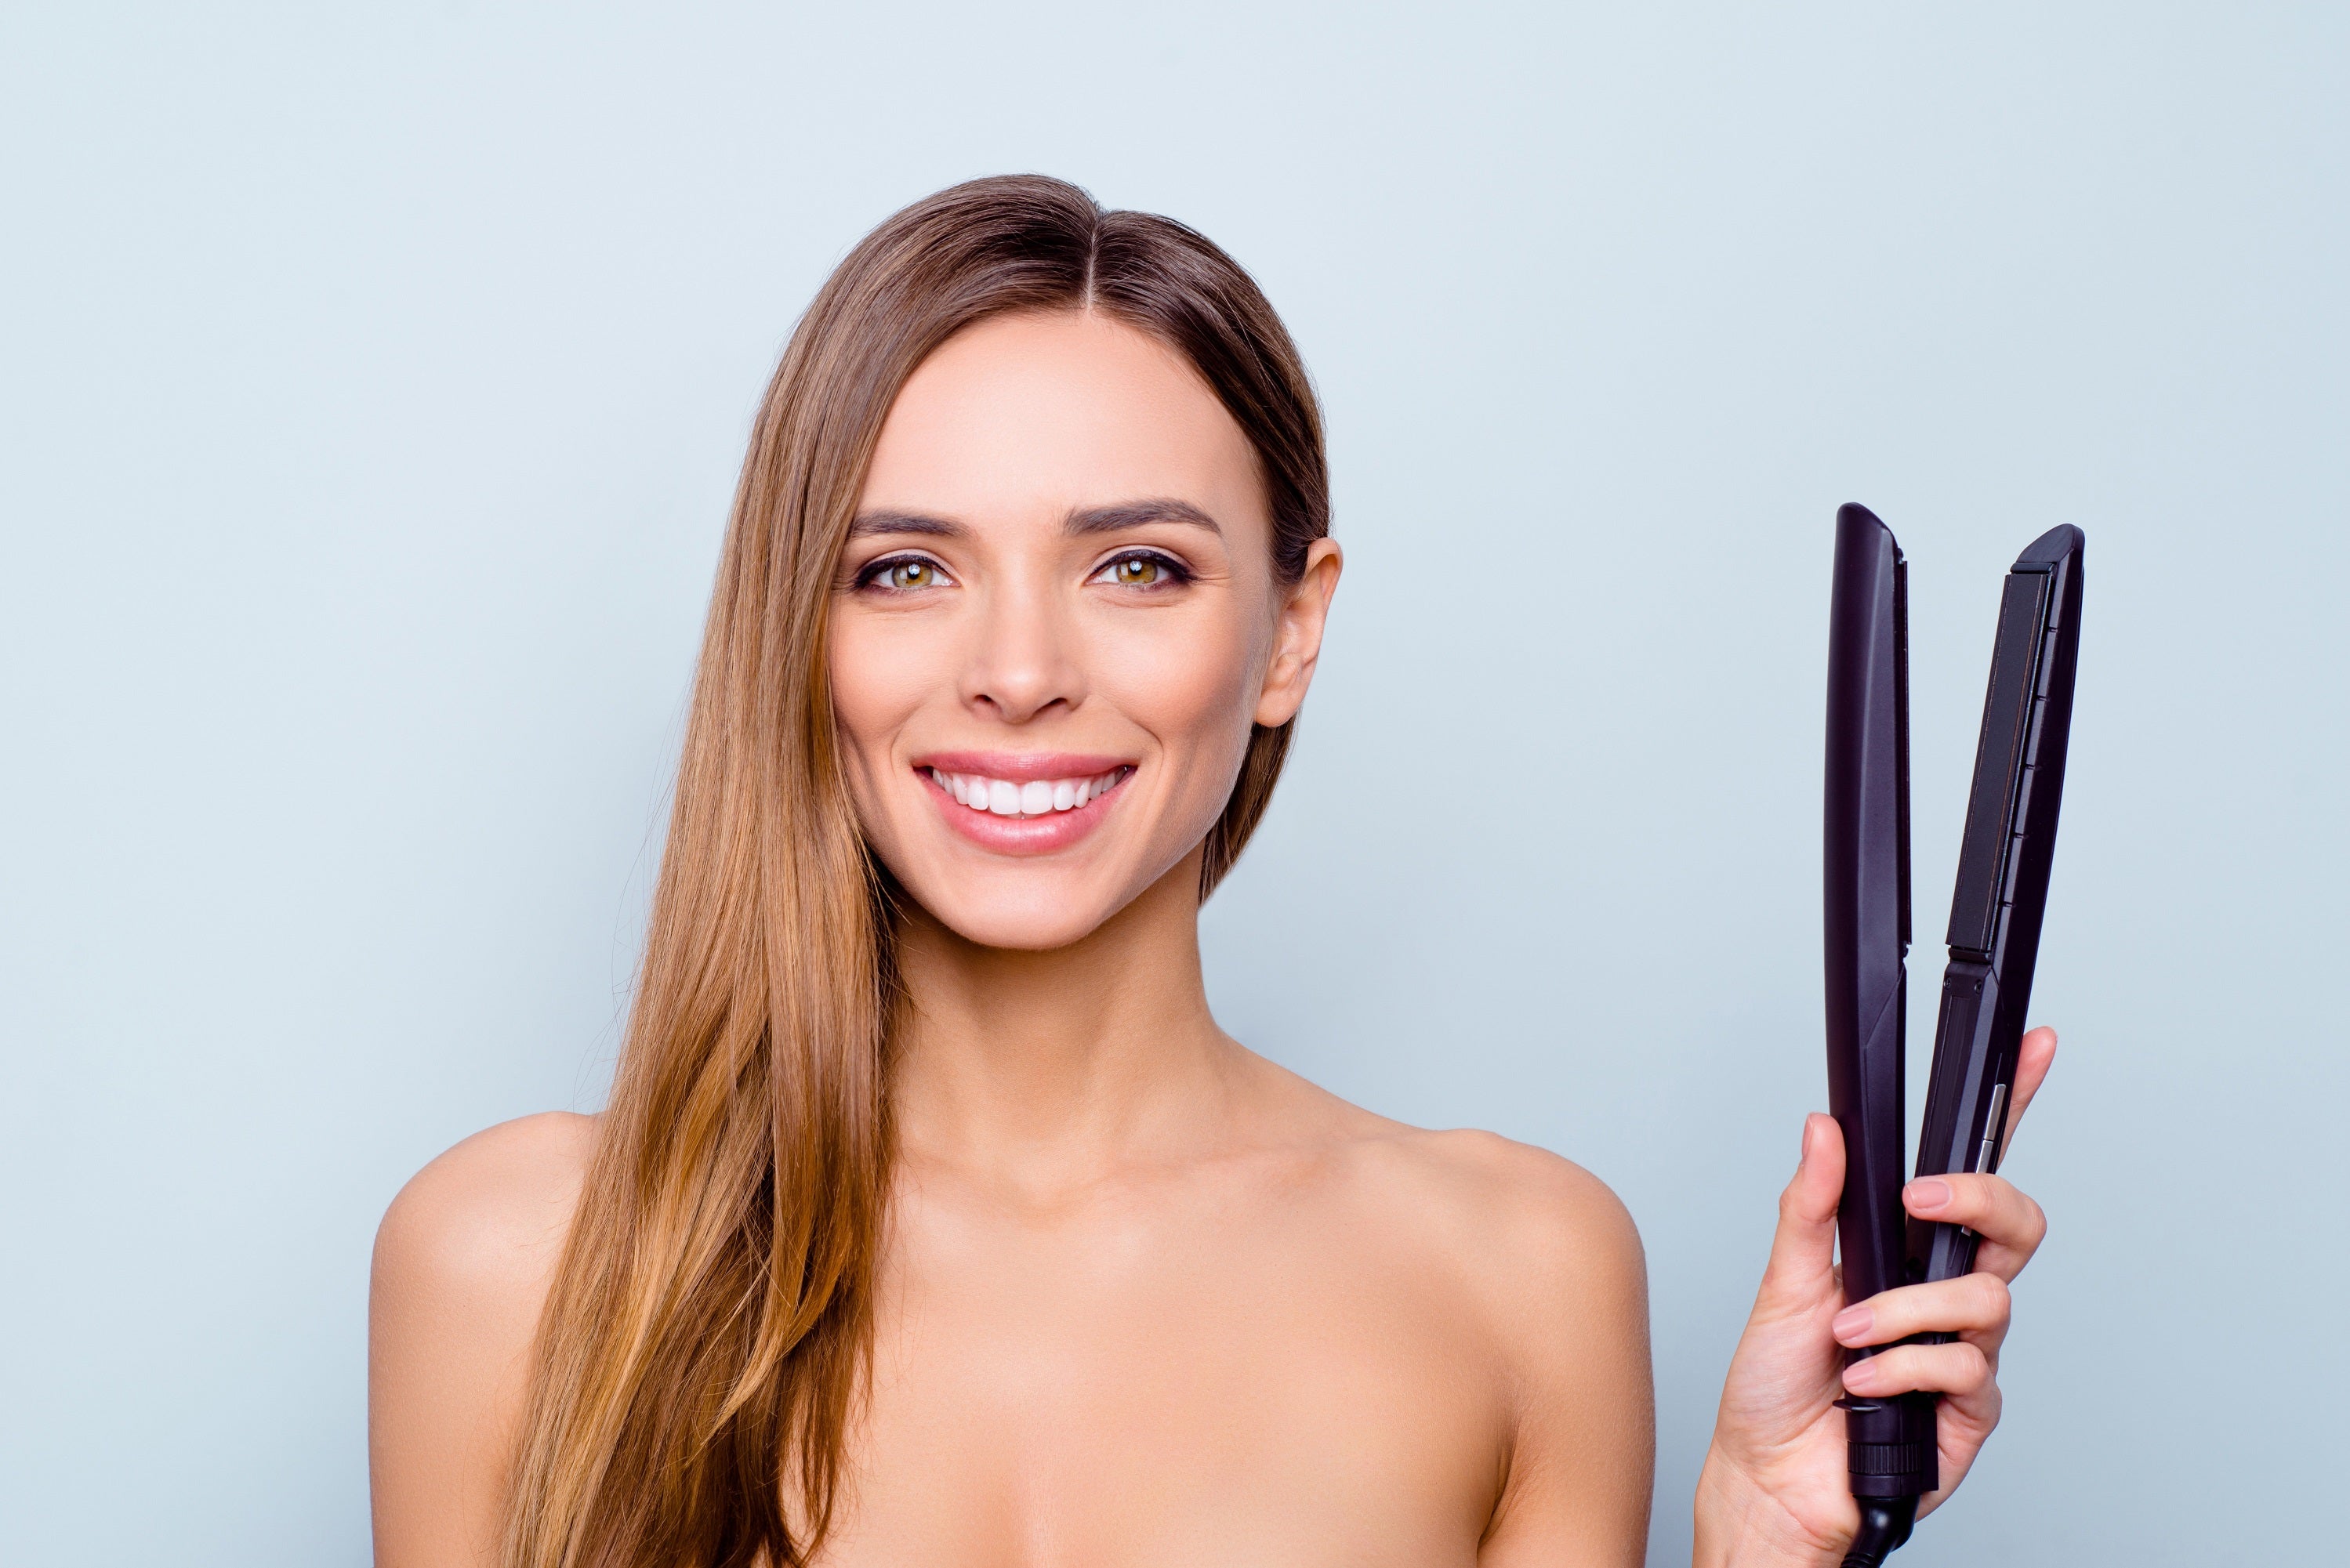
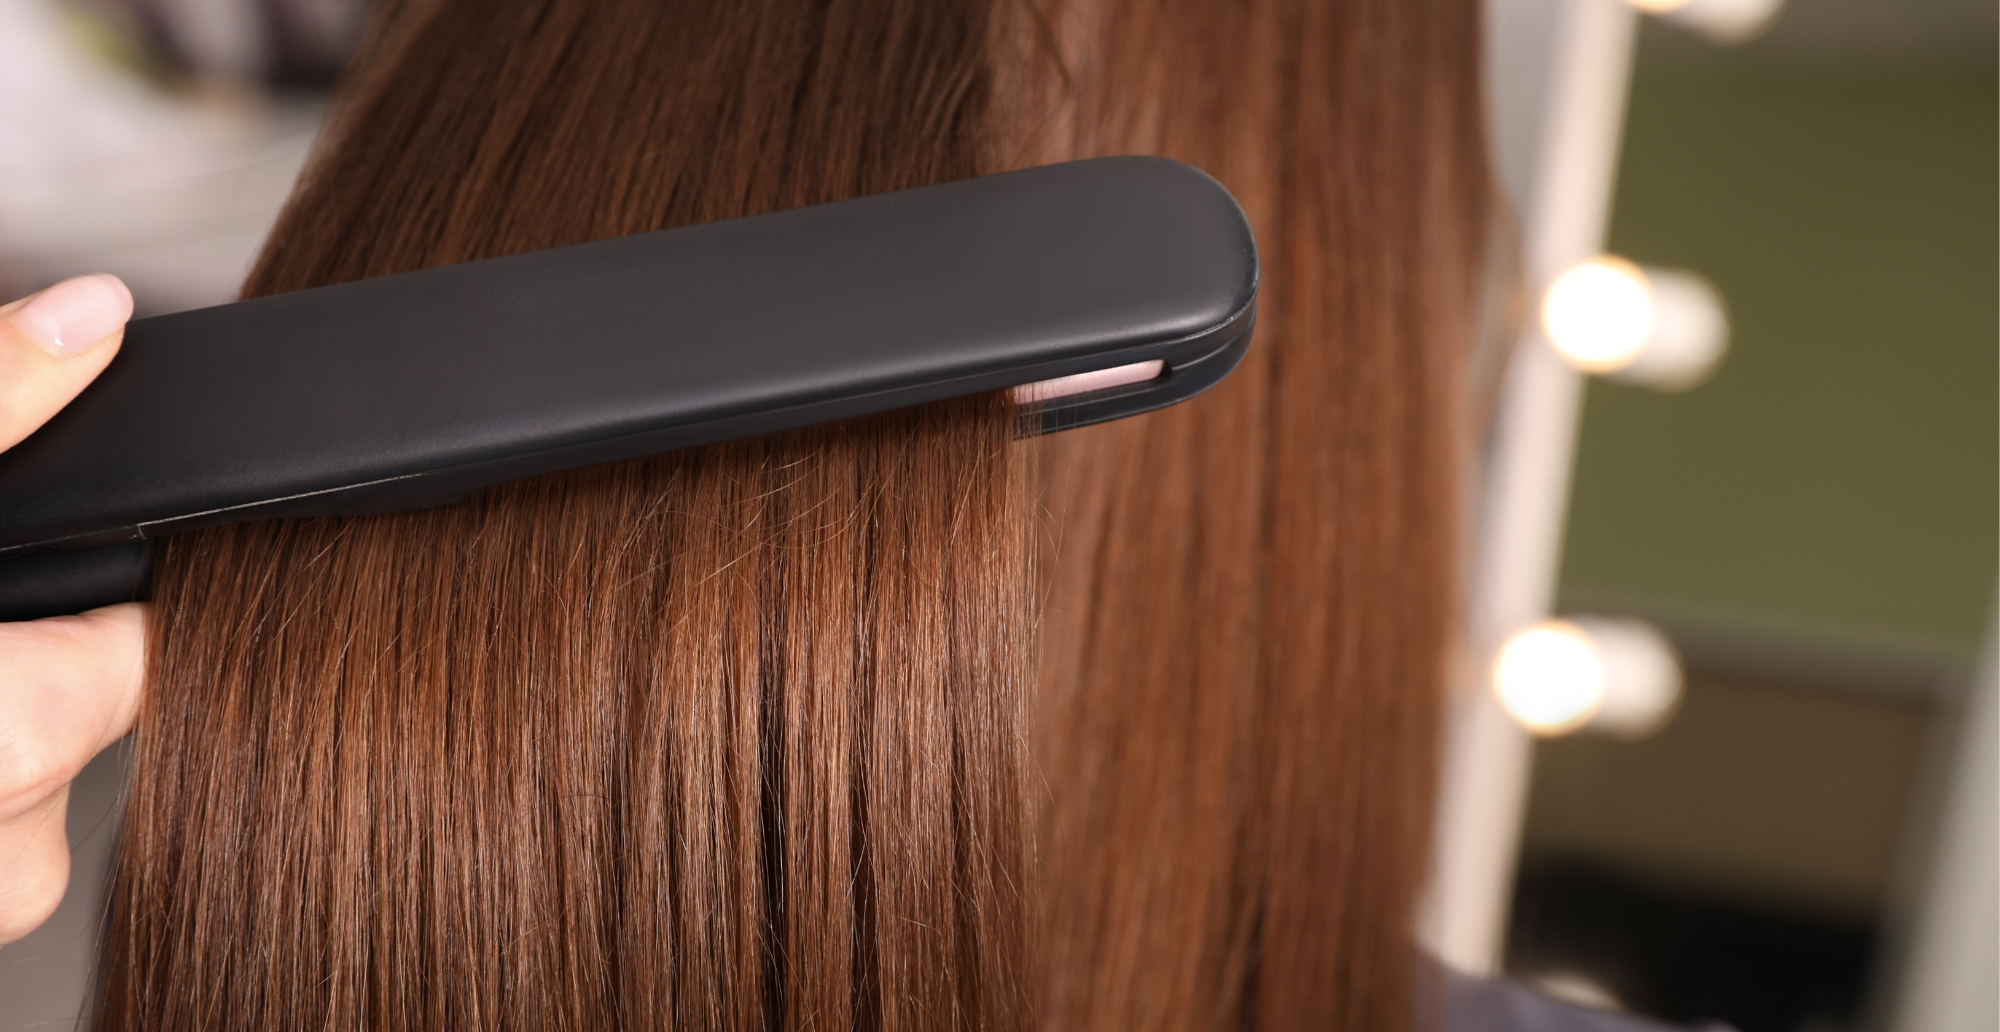
Start by dividing your hair into four sections, securing each with your Kera Mane clips. Grab your trusty flat iron, ensuring it can heat up to 380-450°F (230-249°C). Carefully iron each section, passing over up to 10 times for thicker hair, or up to 5 times if your hair is finer. Remember to adjust the iron's temperature based on your hair's needs. Be mindful not to exceed 410°F to keep your hair looking gorgeous and healthy. If you notice steam as you start to flat iron, it means your hair might still be a bit damp, so give it a bit more blow-dry time.
Note: Take your time with this step – it's crucial for locking in the smoothness.
This step is key to activating all the benefits of Kera Mane, ensuring your hair looks its best without the frizz
STEP 6
Mask
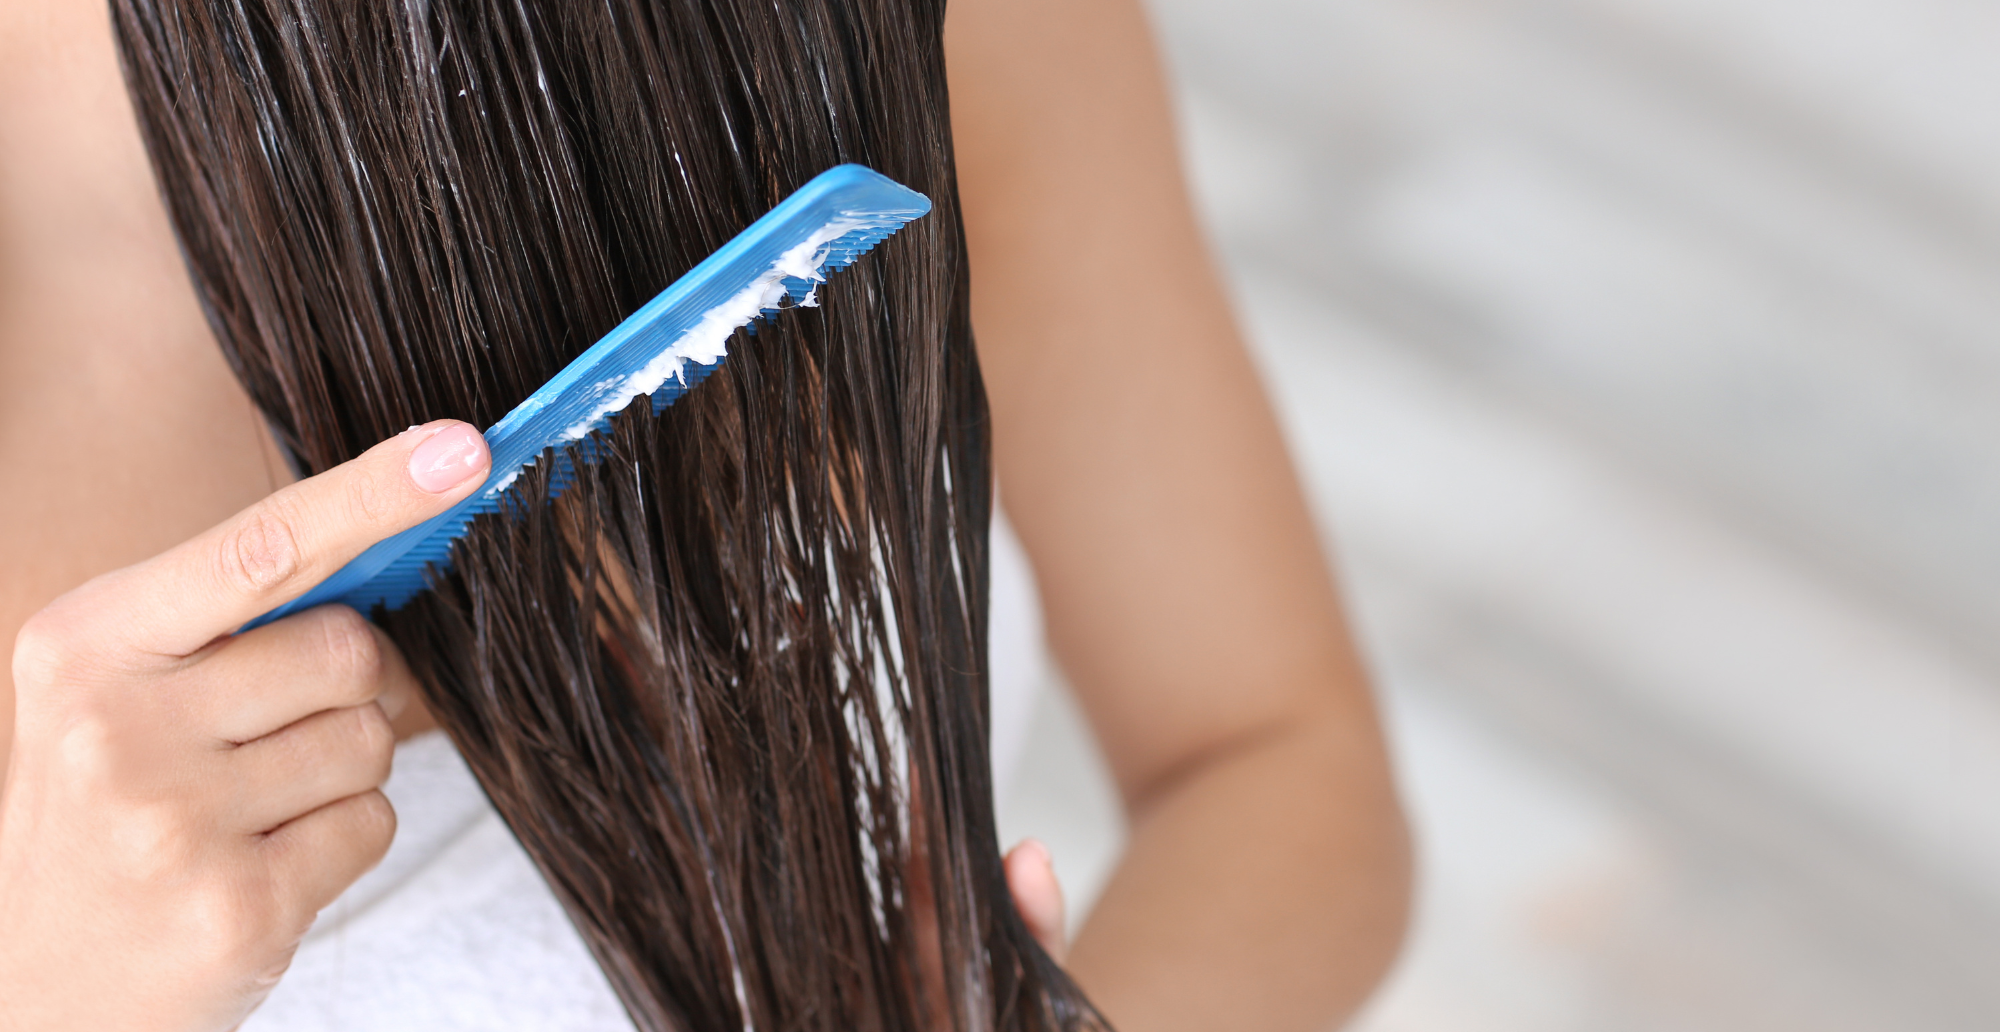
Wait 30 minutes and let your hair cool down. Once your hair is all cooled off, give it a nice rinse with warm water (only). Next up, treat your hair to some TLC with your Kera Mane MAX Repair hair mask (Bottle Number 3). Slather it on and let it work its magic for 5-10 minutes – a perfect moment for a mini spa break! After that, rinse it out again with warm water. Remember, no shampoo this time. Finally, grab your blow dryer and give your hair one last dry to wrap up the process. You're all set with gorgeous, salon-worthy hair right at home!
For Better Results: Wait 2-3 days to wash hair with Sulfate-Free Shampoo and avoid tying your hair during this period.
Oi Linda (Hi Beautiful)
You're all done and ready to rock! Go ahead and style your hair just the way you love it. Now's the time to step out and flaunt that shiny, smooth, and healthy mane, thanks to Kera Mane. Your hair is set to look fabulous for up to six weeks! Why not kick off your new hair journey with a little photoshoot?
Snap a few selfies to capture the moment.
We'd absolutely love to see how Kera Mane has transformed your hair. Share your stunning hair selfies and tag us using #KeraMane or #SmoothbyKeraMane on all your social media platforms! Seeing your amazing results and radiant smiles is what keeps us going.
Let's spread the word about how Kera Mane is changing the hair game!
Steps For Each Hair Type:
Fine
- Treatment process time: 25 mins
- Flat Iron Temperature: 360°-380°F
Medium
- Treatment process time: 35 mins
- Flat Iron Temperature: 380°-410°F
Thick
- Treatment process time: 45 mins
- Flat Iron Temperature: 390°-410°F
Damaged
- Treatment process time: 20 mins
- Flat Iron Temperature: 390°-410°F
